- How to create online event
This article will help you in setting up your first online event. Please click here if you are thinking of hosting your event at a physical venue.
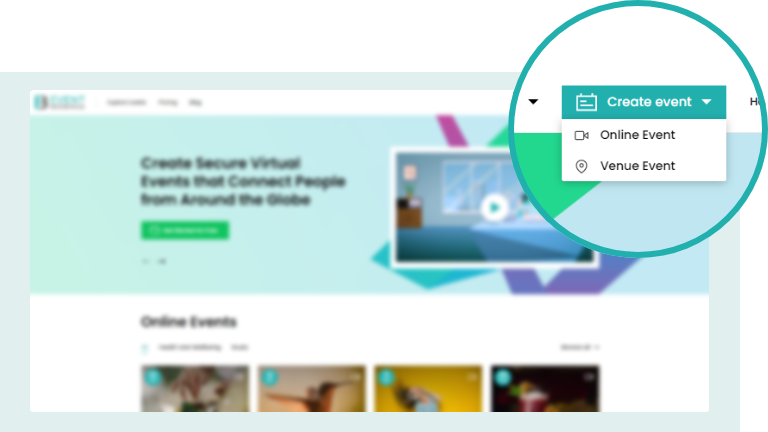
To continue with an online event, click on the Create Event on the top menu bar and select online event.
Step 1: Details
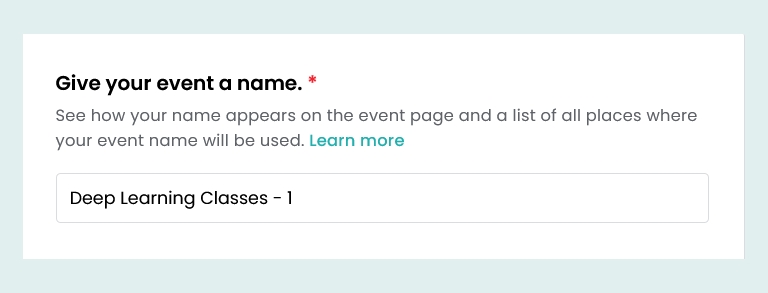
Give your event a name: Let’s start by giving your online event a name. Try making it a little catchy and unique to grab the audience’s attention.
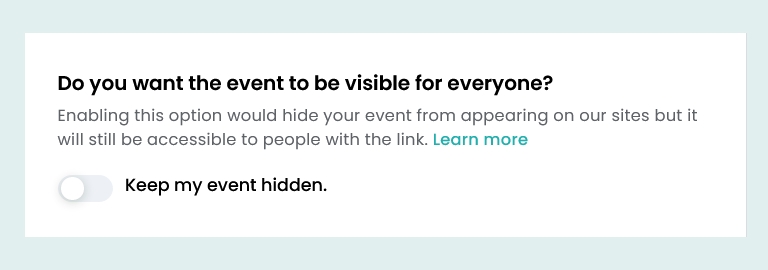
Do you want the event to be visible to everyone? : Decide if you wish to host a public or hidden event. Public events get listed on our website and are visible to everyone. On the contrary, hidden events are only visible to your chosen people with the links.
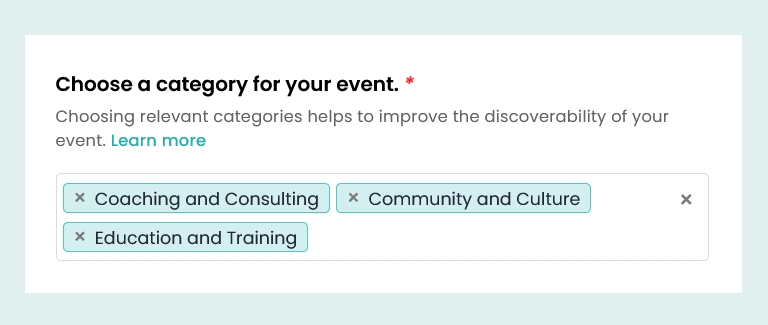
Choose a category for your event. : Please select a relevant category to help your event reach the right audience.
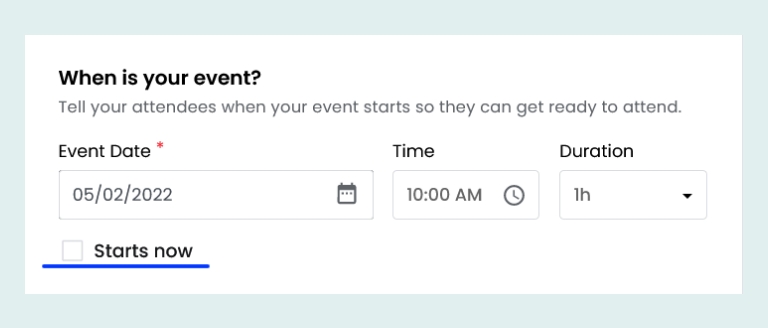
When is your event?: Select the event start date, time, and duration of your online event from the drop-down boxes. However, to start your event immediately after the creation, you can tick the ‘Starts Now’ checkbox above.
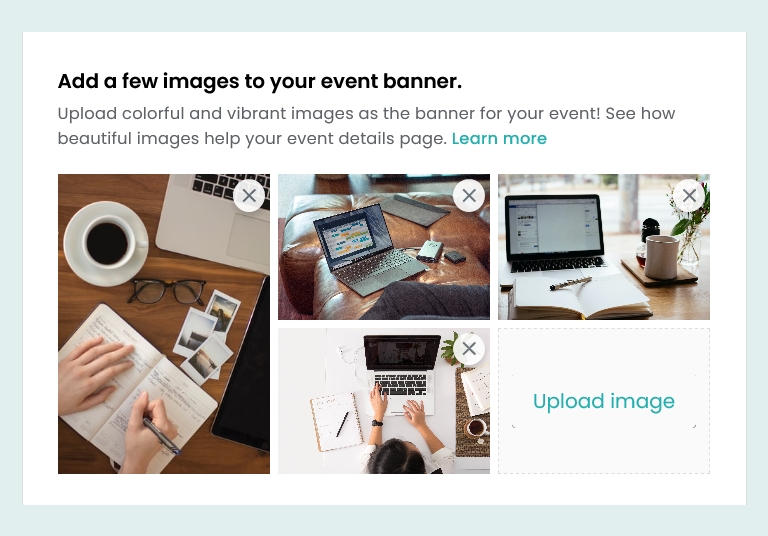
Add a few images to your event banner: Add a few images as your event banner (you can upload as many as five) to make your event details page as colourful and vibrant as possible.
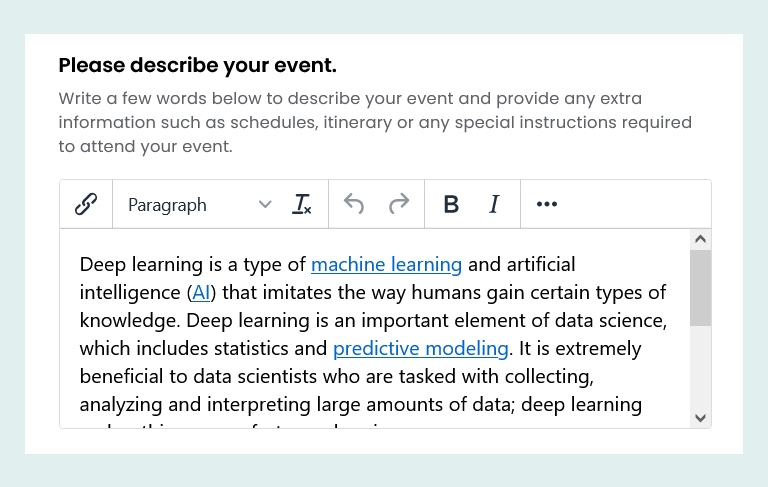
Please describe your event : Add a description of your event and explain why people should register for your event. You can also use this space to include any itineraries, schedules or important instructions related to your event. In short, utilise this space to the best of your capabilities.
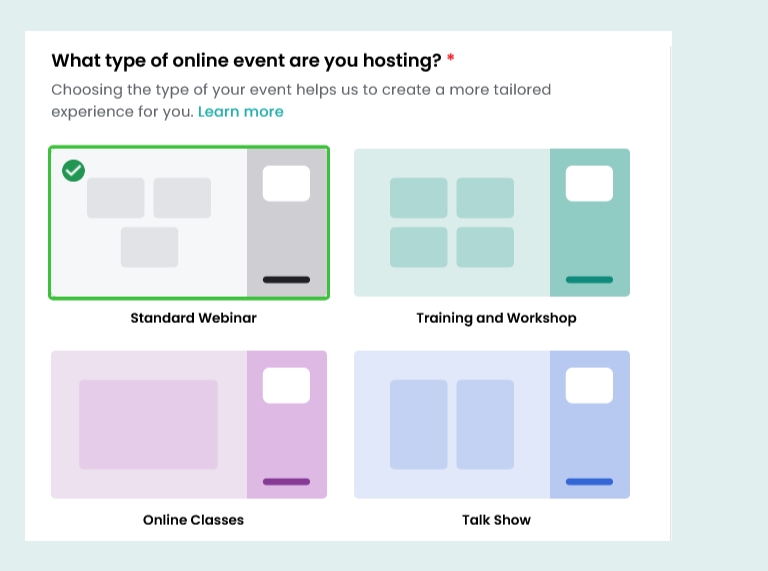
What type of online event are you hosting? :
Choose the type of your event from the following choices:
i. Standard Webinar – Our standard webinar template should fit well with your events for your general webinar requirements.
ii. Training and Workshop – The training and workshop template is designed to help you conduct successful training and more engaging workshops through our built-in interfaces.
iii. Online classes – The online class template keeps the students in mind and creates an overall learning environment throughout your events.
iv. Talk-show template – The talk show template is designed to give you the feel of televised talk shows right at your event. This particular template comes with the unique feature of adding speakers. You can see your speakers aligned vertically during your event to make it seem like a live talk show on air!
Now that all these decisions are made click on ‘Continue’ to move on to the next step.
Step 2: Tickets
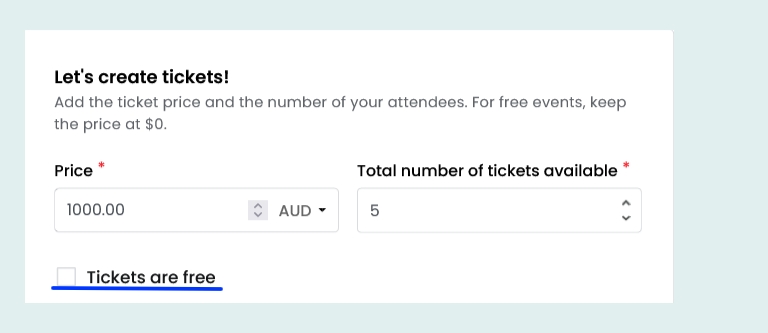
Let’s create tickets: Create your tickets by deciding on the price and the number of tickets you want for your event. If you plan to host a free event, tick the ‘Tickets are free’ checkbox above and continue. Please note that a small fee applies after the first 300 tickets.
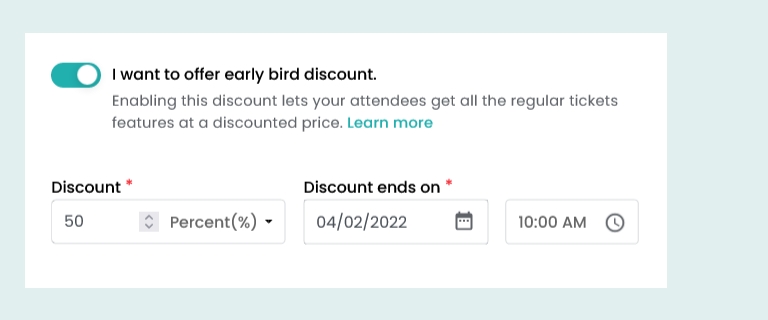
I want to offer early bird discount: To enable the early bird discount, please enable the toggle and select the amount (or percentage) of discount you wish to offer and the date till which you want the discount offer to remain valid.
If you are done with your tickets, click on ‘Continue’ to customise your event further.
Step 3: Settings:
In the third step, you can choose to customise your event settings further.
I want the bookings to start immediately: You can customise when to start the booking for your event.

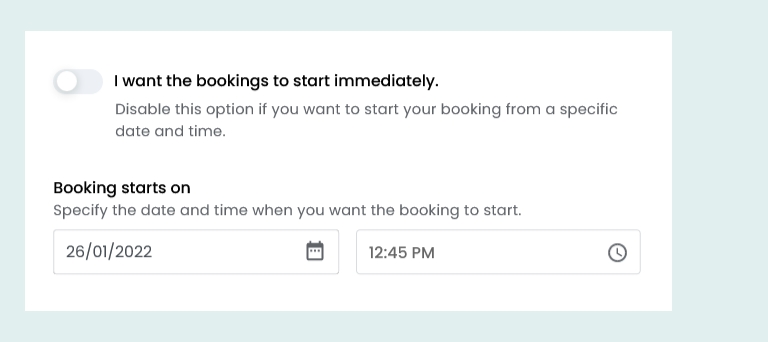
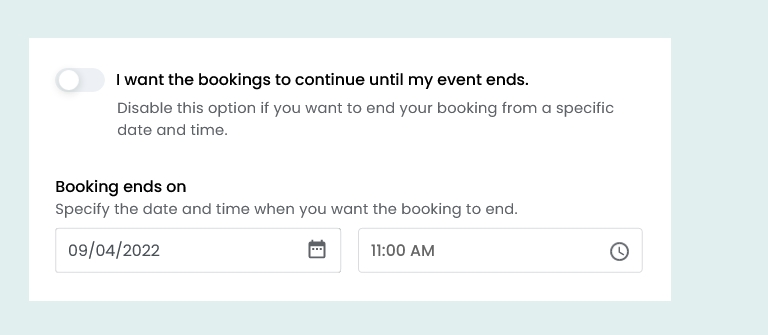
I want the bookings to continue until my event ends: You can customise when to end the booking for your event.

I want my customers to pay the applicable service fees at the time when they make the bookings. : You can choose to absorb the service charges within your ticket price. This will deduct our service charge from your ticket price. However, by default, we forward our service charges to your attendees and let them pay the fees in addition to the set ticket price.

I do not wish to offer my customers with option to cancel their orders and receive refund: If you do want to enable refunds, we have two options for you:
Refund customers manually: Select the date until which attendees are allowed to cancel their tickets. You can review each refund request manually to decide whether you want to refund the particular attendee.
Refund customers automatically:
Select the date when attendees are allowed to cancel their tickets and the amount you want to refund. If any attendee cancels their ticket within the selected time frame, they will get the amount chosen refunded automatically.
By default, we choose the no refund policy for you.
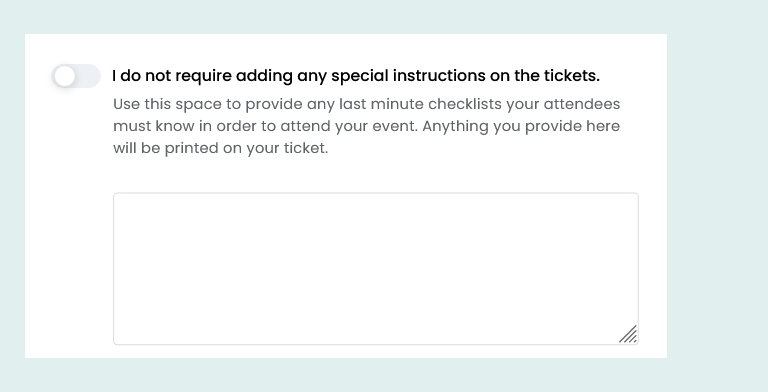
I do not require adding any special instructions on the tickets: You can provide any additional instructions to your ticket for your attendees. It is disabled by default, but if you require it, please enable the toggle to reveal the description box to provide your instructions.
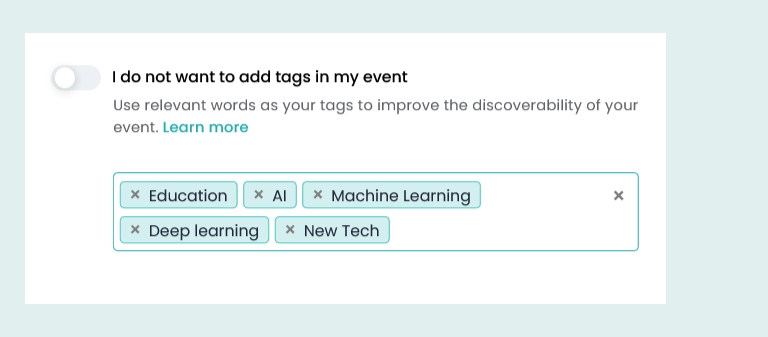
I do not want to add tags in my event: Add tags to your event to increase the discoverability of your public event.
Once you are done with all this, simply click on ‘Create’ button to create your event.
On successful event creation, you will be directed to the event dashboard, where you will find your event ready to be published. But before you publish, we have a few more advanced settings you could apply to take your event to the next level.
More Options
To access our more settings, look into your event dashboard’s left-side menu panel.
Here you will find the following customisations:
a. Does your event have multiple sessions?: To add sessions to your event, enable the slider and go to the ‘Sessions’ tab to start configuring your sessions.

b. Collect attendee information?: Add attendee and booking details by enabling the slider and go to the respective tabs to build your own attendee details / booking details forms.

c. Do you want to add a survey for your attendees?: You can also build and add your surveys and ask your attendees to fill them out to get general feedback about your event.
d. Do you want to invite speakers to your event?: Invite Speakers to your event (only for the Talk-Show template) by enabling this slider.

e. Do you want to enable breakout rooms for your event?:
Create breakout rooms in your meetings, divide your event into segments, and assign your attendees accordingly.
This feature helps you control your event more smoothly by dividing your large audience into manageable groups.

f. Is your event Invite Only?: Enable this slider to make your event exclusive for only people you choose to invite.

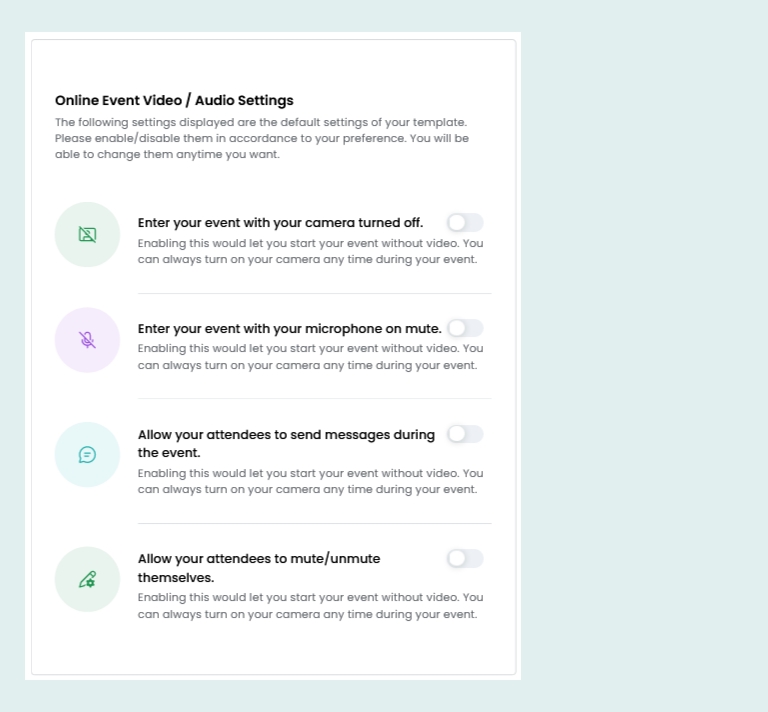
g. Online Event Video / Audio Settings: Define the settings of your online event beforehand to avoid any hassles at the beginning of your event.
Do not worry; you can always change them later during your event.
And that’s it; your event is all configured! So please sit back, relax and prepare for your event while we take care of your tickets and attendees.
To know more about how you can use our promotional tools to promote your event, please head over to our Help Center and browse through our Promote Event category.
And, as always, we are here for any queries you might have.
Just leave us a ticket or email us at contact@eventbookings.com.
